

Setup a ESP8266 Microcontroller - Mac OS
Install the necessary drives and configure Arduino IDE to start tinkering with the ESP8266 Microcontroller


- Download the Mac VCP drivers at silabs.com/products/development-tools/softw..
- Install the drivers, authorize any security prompts that appear while installing
- (On recent macOS releases) Open System Preferences > Security & Privacy > General. You’ll see a message about the Silabs driver being blocked at the bottom. Click “Allow”
- Download and install the Arduino IDE
- Open Arduino Preferences and paste the URL below in Additional Board Manager URLs:
http://arduino.esp8266.com/stable/package_esp8266com_index.json - Go to Tools > Board > Board Manager> Type “esp8266” and download the Community esp8266 and install
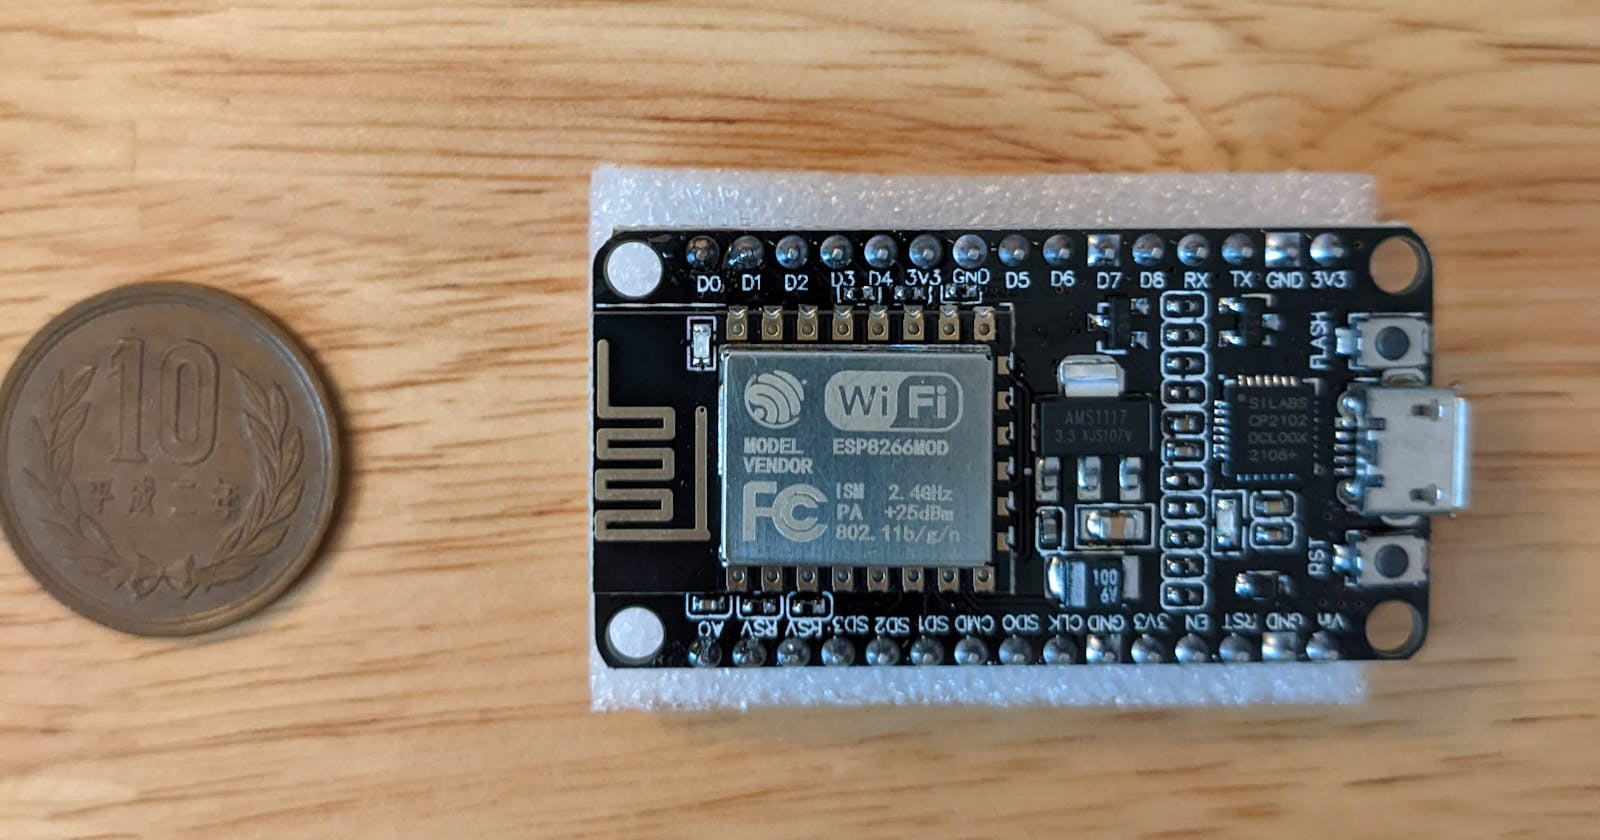
- Set up your chip as:
- Tools > Board > NodeMCU 1.0 (ESP-12E Module)
- Tools > Flash Size > 4M (FS:3M OTA: ~512KB)
- Tools > CPU Frequency > 80 Mhz
- Tools > Upload Speed > 115200
- Tools > Port > /dev/cu.SLAB_USBtoUART (leave the rest as-is)
- Open File > Examples > ESP8266 > Blink
- Compile and Upload. After it's done uploading, the red led should start blinking in your board.